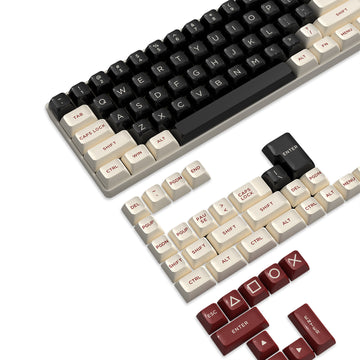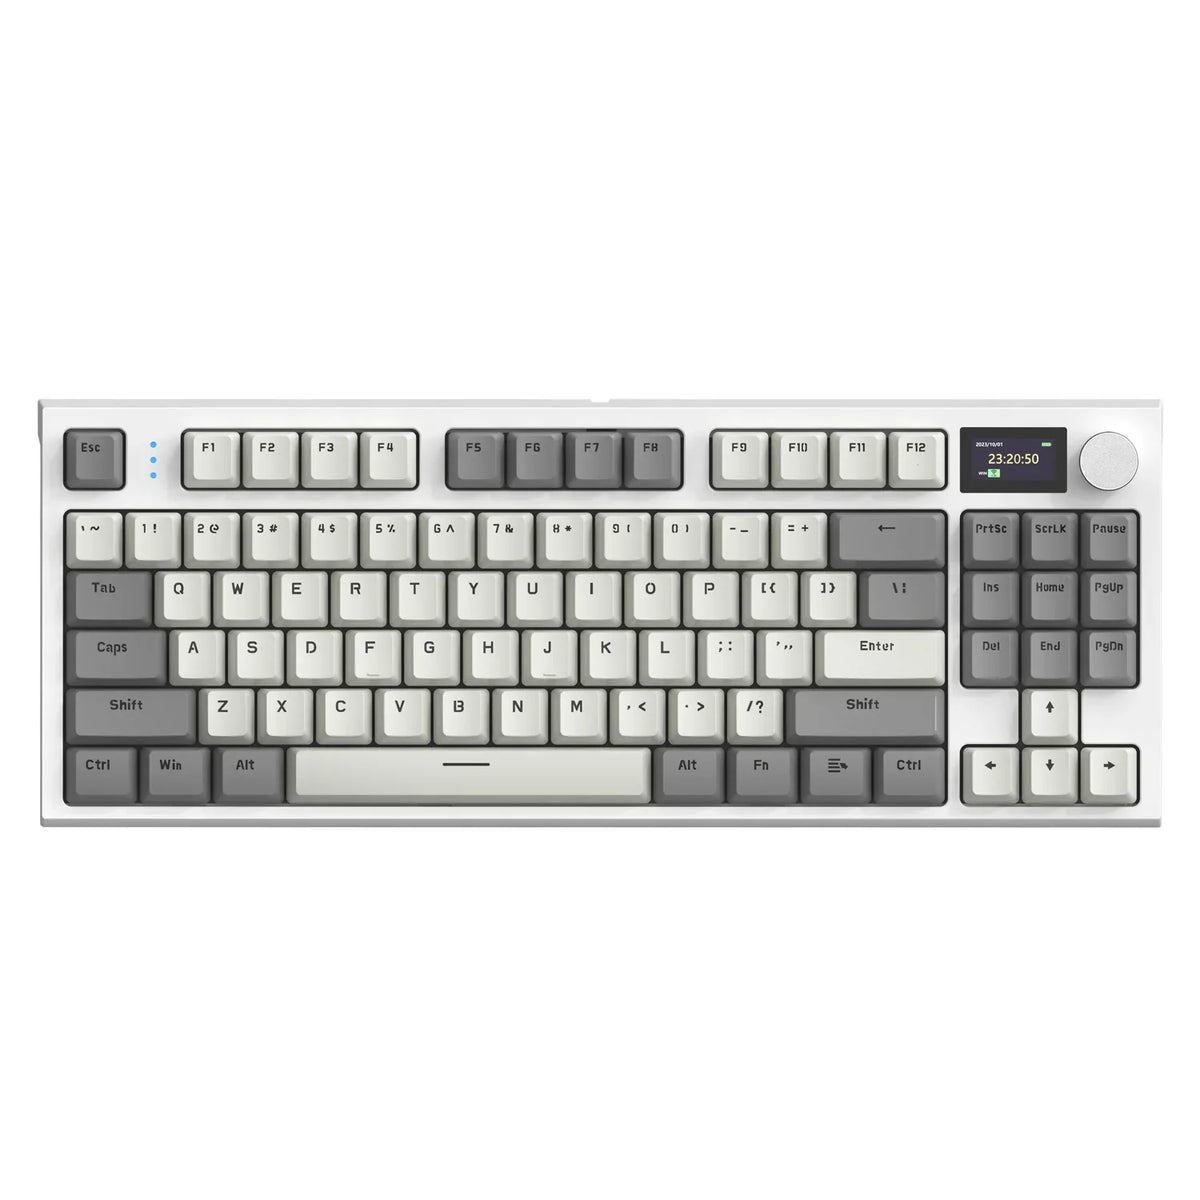
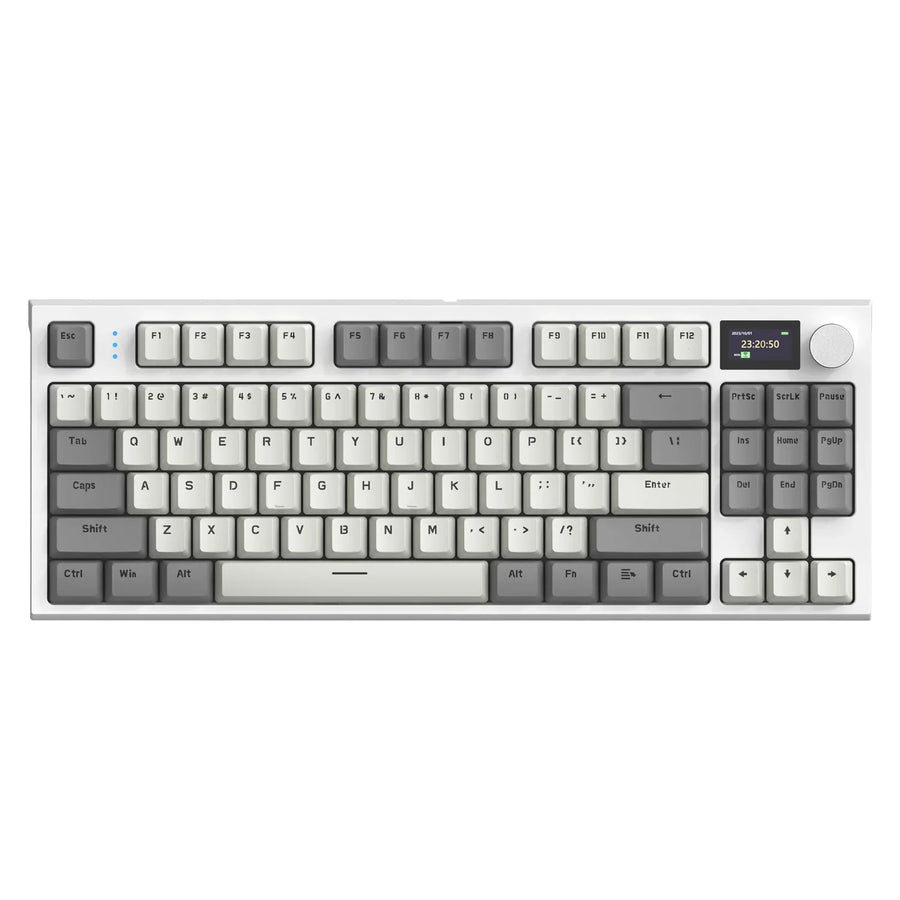
A cheap mechanical keyboard under $40 can be a genuine modding platform, but only if its printed circuit board, hot-swap sockets, and stabilizers are actually documented and sound. Some boards reward a weekend of tuning with a smoother, quieter typing feel; others waste switches, time, and money on a frame that was never built to be modified. The right call depends on verifying compatibility first, then judging whether the remaining flaws are fixable or built into the case.
Key Takeaways
- Verify the socket family and PCB documentation before buying switches; a hot-swap label alone doesn't guarantee compatibility.
- Test a few straight-pin switches by hand, supporting the socket from below, before committing to a full set.
- Rattling or uneven stabilizers can often be tuned, but a plate or layout limit sets a hard ceiling on replacement parts.
- Case acoustics respond to reversible damping tests, but a thin shell or rigid mounting plate can't be fully redesigned with foam.
- Spend in stages: verify, fix the biggest flaw, retest, then decide if the next purchase still makes sense.
The $40 Modding Platform Test: Keep It or Walk Away
A cheap board earns modding investment when its hardware backs up the price, not just the marketing copy. Three outcomes are realistic: proceed because the platform is documented and repairable, tune selectively because only one weak point needs attention, or stop because compatibility is unverified or the frame itself is the problem.
Calling a board "e-waste" only makes sense as an economic judgment about a specific unit, not a blanket label for every sub-$40 listing. The table below shows how the same observation leads to a different decision.
| Observed condition | Decision | Next action |
|---|---|---|
| Socket and switch type documented; sample switches seat cleanly | Proceed as a modding platform | Buy a full switch and keycap set |
| Compatibility is fine, but only stabilizers or acoustics bother you | Tune selectively | Fix that one issue, then reassess |
| Socket or PCB is undocumented, or the plate is a hard structural limit | Stop and compare replacement | Keep it stock or budget for a new board |
This split keeps modding spend proportional to what the board can actually support, instead of assuming every sub-$40 hot-swap listing deserves the same investment.
PCB Construction and Hot-Swap Sockets: Verify the Foundation
A hot-swap socket only tells you switches can be pulled and swapped, not that every switch will fit. The real gate is the PCB design and the exact socket family the manufacturer used.

What the hot-swap label does—and does not—tell you
- Compatibility depends on the socket and PCB design, not the listing headline. According to Keebio's switches and sockets FAQ, Outemu sockets typically accept only Outemu or Panda-style switches, while Kailh hot-swap sockets require a PCB specifically designed for them.
- PCB-mount switches add two plastic alignment legs that plate-mount switches don't have. Check which type your intended switch uses before ordering, since a mismatched pin layout can prevent a clean seat.
- A socket name alone isn't a full compatibility verdict. If a listing names a Kailh-style socket, confirm Kailh's PCB requirement and that your switches are MX-style, since Kailh notes its socket works with only a specific PCB family.
- Check the layout too. Hot-swap support on the alphas doesn't guarantee support on oddly sized keys like a split spacebar or stepped caps lock.
Run a low-risk sample installation
Before buying a full switch set, test two or three switches with straight, unbent pins. Support the socket from below with a finger while pressing the switch flush through the plate, following the straight-pin insertion steps for pre-built hot-swap boards, and stop if you feel real resistance instead of forcing it. Bent pins or excess force can push a socket off the PCB, which turns a $40 keyboard into scrap before you've judged its real potential. If the sample switches seat cleanly and feel secure, the board has passed its most important test.
Plate-Mount Stabilizers: Tuneable Weakness or Structural Limit?
Plate-mount stabilizers are a separate mechanical system from the PCB, and a rattly board doesn't automatically mean a bad platform. Some problems respond to simple tuning, while others are built into the plate.
Find the defect before buying parts
Press each large key, the space bar, shift, and enter, and compare their return and sound to the smaller keys nearby. Ticking, rattle, or inconsistent bottom-out on stabilized keys is often a lubrication, alignment, or clip-seating issue you can address with basic tools before spending on new hardware. A wobble that disappears when you press directly on the stem, rather than off-center, usually points to alignment rather than a broken part.
Know when the plate is the limit
Some stabilizer noise remains after cleaning and lubrication because the plate cutout, wire gauge, or stabilizer housing is the constraint, not dirt or misalignment. Replacement stabilizers only make sense once you've confirmed the exact mounting dimensions and clip style match your board, since an unverified swap can fit as poorly as the original part. When the plate design is the bottleneck, that's the signal to stop chasing stabilizer upgrades and judge the board on its other strengths instead.
Case Acoustics: Improve the Sound Without Chasing a Premium Promise
Case, plate, and mounting materials all shape how a keyboard sounds, and reversible tests can improve that sound without a full rebuild. Damping can only work with the structure you already have, not against it.
Locate the source of the sound
Type on a few regular keys, then compare them with large stabilized keys and listen for where the extra noise comes from: a hollow case cavity, a rigid plate ping, or loose mounting points. That comparison tells you which single change to try first instead of layering foam, tape, and fillers all at once. Our case resonance guide walks through isolating a hollow, plasticky ring in thin-wall cases before you add any material.
Set a realistic acoustic ceiling
Add one damping change, such as case foam or a mounting adjustment, then retype the same keys before adding anything else. Keep the change if it removes the specific noise you identified, and stop there once the sound is acceptable rather than continuing to chase a premium result. A rigid, unsupported plate or a thin shell can only be muted so much, because foam controls resonance, not the underlying structural stiffness.
A Staged Modding Path That Tells You When to Stop
Once you know the platform is sound, spend in stages instead of buying every part at once.
- Verify the platform. Confirm the socket family, PCB documentation, and layout support, then test a few straight-pin switches by hand before ordering a full set.
- Fix the highest-impact flaw. Address the loudest stabilizer issue or the clearest acoustic problem first, using one reversible change rather than several at once.
- Retest before spending again. Run a test key response online check on feel and response after the fix, and only continue if the improvement is clear.
- Decide whether to continue or stop. Authorize the next purchase only when the remaining issue is fixable and worth the added parts and labor. Stop and compare replacement pricing once fixes stop resolving problems, the socket or layout stays unverified, or a full switch set from a switch selection page would cost more than a comparable new board.
FAQs
Is every under-$40 hot-swap mechanical keyboard a viable modding base?
No. An inexpensive board with a hot-swap label simply allows switch removal; it does not promise universal pin fit or broad switch compatibility. Verify the PCB layout and socket manufacturer specifications first, and gently test sample straight-pin switches before purchasing parts.
What should you do if a switch pin bends during insertion?
Pull the switch out immediately rather than pushing harder against the socket. Inspect the metal contact pin, straighten it gently using flat tweezers or pliers if undamaged, and realign it with the socket leaf before reinserting with rear socket support.
When does adding case dampening material stop making sense?
Dampening reaches its limit when the unwanted tone stems from plate stiffness, hollow keycaps, or rigid housing contact rather than empty case space. If a simple layer of reversible foam does not reduce resonance, stop spending on specialized acoustic inserts.