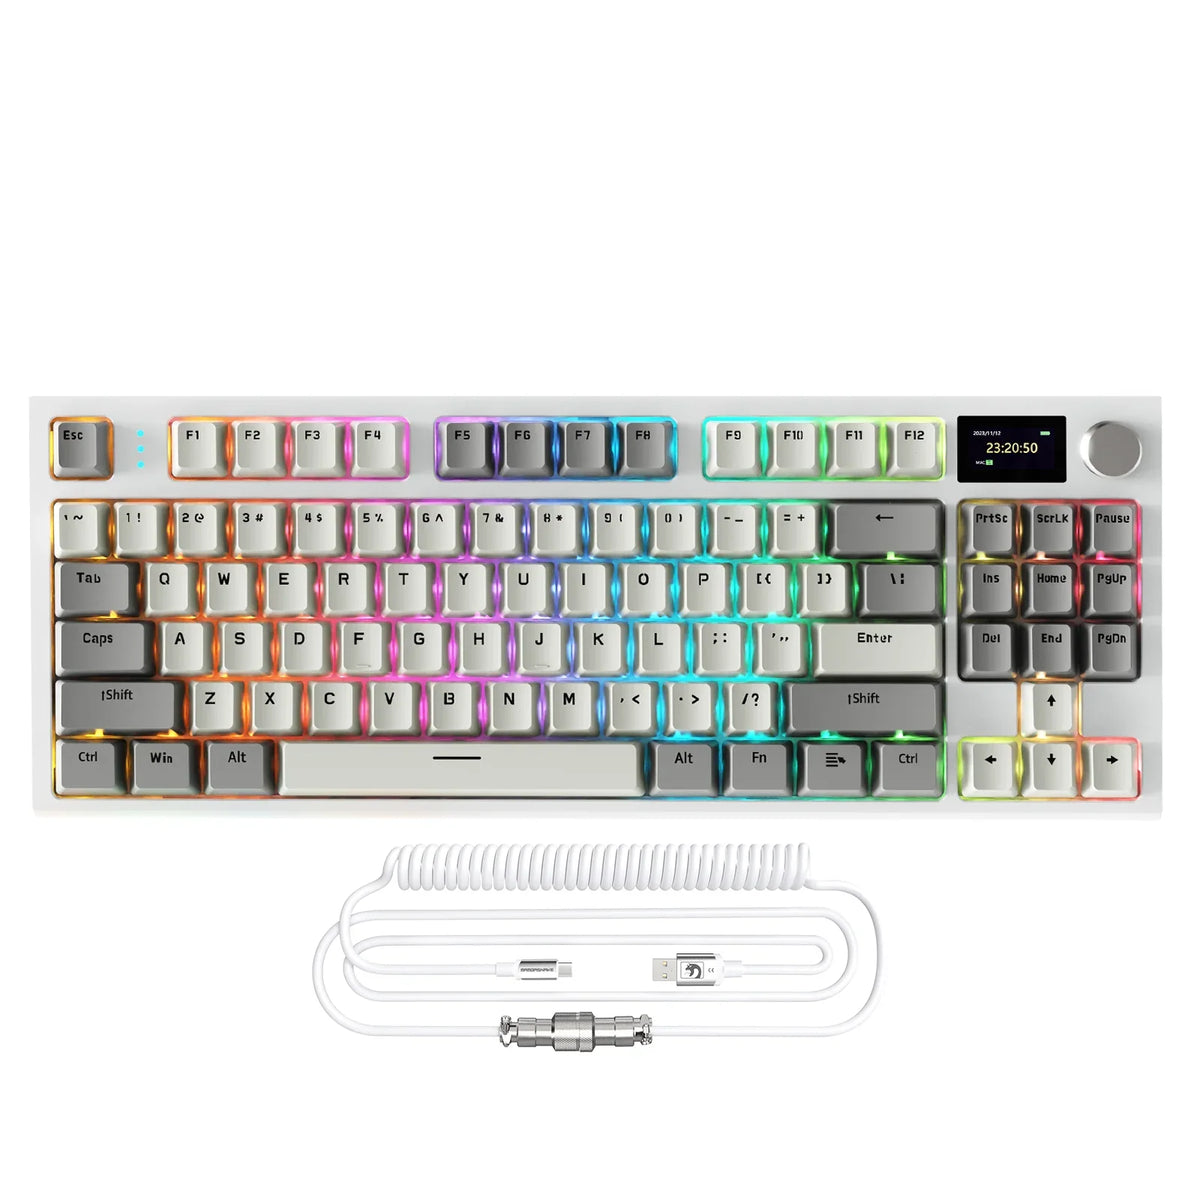
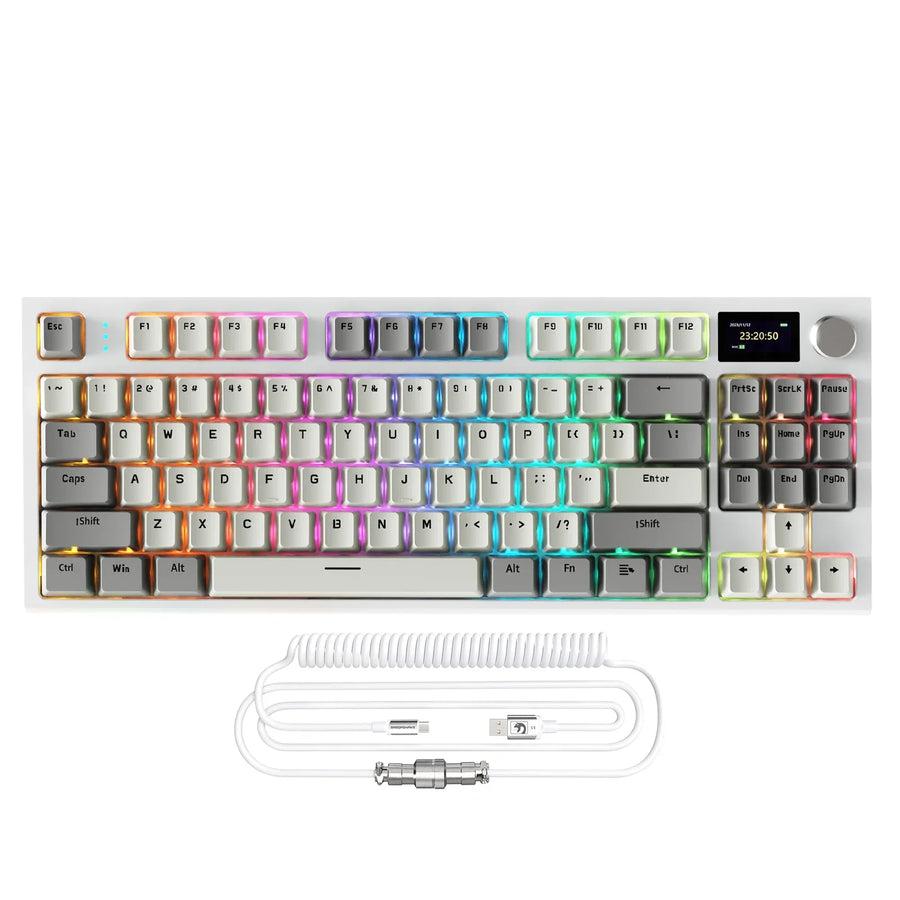
A coiled aviator cable is compatible with an illuminated mechanical keyboard when the keyboard receives stable voltage through the entire power path under the exact lighting or activity level that causes trouble, not just at idle. If your keyboard dims, flickers, resets, or disconnects when you raise RGB brightness, voltage drop issues with a coiled keyboard cable usually depend on testing that full path: host or hub, host-side lead, aviator connector, coiled section, and the keyboard's own connector.
That test result puts you into one of four positions: keep the cable because it stays stable under the triggering load, test further because the fault is inconsistent or the keyboard's requirements are unclear, reconfigure the host path by trying a direct port or removing a hub, or replace the cable because the fault follows it specifically.
The Compatibility Decision: Test the Complete USB Power Path
The decision isn't about which cable looks best. It's whether device-end voltage holds steady across the host, any hub, the aviator connector, the coiled section, and the keyboard's own port, at the exact lighting level or activity that causes the symptom.
An idle reading that shows no problem doesn't settle anything. Voltage drop increases with current, so a keyboard that runs fine with lighting off or dim can still lose enough voltage to misbehave once brighter RGB effects raise its current draw. That's why the earliest useful decision isn't "which cable is better," but one of four concrete actions.
Keep the cable if it holds steady voltage on your intended host path under the load that used to cause the fault. Test further if the fault is intermittent, the keyboard's power requirements aren't documented, or you haven't yet reproduced the triggering condition. Reconfigure by trying a direct host port, removing an unpowered hub, or reseating the aviator connector. Replace or escalate if the fault clearly follows the cable itself, or if it persists across every cable and port you try, which points toward the keyboard or host instead.
Start with the Keyboard and Host Power Requirements
Before you test anything, you need two separate records: what the keyboard needs, and what the host path actually supplies. These aren't the same number, and confusing them is the most common way people misread a voltage test.
Record the keyboard requirement
Check the keyboard's manual or product page for its wired-mode voltage, current, or power draw, and note the specific lighting mode or brightness level that should stay stable. Many illuminated keyboards don't publish this figure. If yours doesn't, don't substitute a generic USB number for it. Treat the missing spec as a gap to work around with comparative testing, not a reason to assume any cable will work.

Record the host path
Note whether the cable connects to a direct motherboard or laptop port, a powered hub, an unpowered hub, a front-panel header, or an extension. USB-IF drop and droop test material defines loaded VBUS reference conditions for hosts, hubs, and charging ports under load, but those figures describe compliance test setups, not a universal ceiling for every keyboard. A USB-C connector's shape also doesn't tell you what current or power mode the port actually negotiates; the USB-C current and power modes spec separates connector geometry from the electrical behavior behind it, so check the port's actual role rather than assuming from its shape.
Which Cable Variables Can Increase Voltage Drop
The cable itself can lose voltage through three separate mechanisms: conductor resistance, connector quality, and construction claims that sound reassuring but aren't proof on their own. Each needs its own check rather than a single visual impression of the cable.
Resistance and deployed length
Voltage loss follows current through the combined resistance of the VBUS and return conductors, so a longer or higher-resistance path loses more voltage as current rises. This relationship is described directly by the equation for cable resistance and voltage drop, where thinner or longer wires simply present more resistance to the same current. A coil's visual size doesn't tell you the deployed length; a tightly wound coil can still hide several feet of wire once stretched to your desk setup. If you're comparing a longer custom cable against your original one, our guide on coiled cable length covers how coil geometry can affect the deployed path and identifies coiled aviator keyboard cable voltage drop issues.
Connector interfaces and assembly
Check the aviator connector's pinout, coupling tightness, contact condition, and solder or crimp quality, since mechanical fit alone doesn't guarantee low contact resistance or correct wiring. A detachable connector adds an extra interface to the power path beyond the cable's conductors. If the fault changes when you move or reseat the connector, treat the connector itself as a leading suspect rather than the cable's wiring.
Gauge and shielding claims
A gauge number is only useful once it's tied to an actual conductor specification or a measured resistance value; by itself it's a spec to verify, not a compatibility answer. Shielding is a separate construction attribute aimed mostly at signal integrity, and it isn't documented as a voltage-drop guarantee. Don't assume a shielded or high-gauge cable is automatically stable just because the listing describes it that way.
How to Measure Voltage Drop Under the Fault-Producing Load
You need three readings, not one: a baseline, a loaded reading during the actual fault, and a comparison. A basic digital multimeter (DMM) is enough for a steady voltage drop in a coiled aviator cable; an oscilloscope becomes useful only when a brief dip or transient causes the reset and a steady DMM reading doesn't explain it.
- Establish the no-load baseline. With the keyboard idle or disconnected, measure VBUS relative to ground at the host side and as close as practical to the keyboard side. Record which port or hub you used, which cable, the lighting state, and the instrument.
- Reproduce the fault-producing load. Set the exact RGB brightness, effect, or activity level that reliably causes the dimming, flicker, reset, or disconnect, then take the same device-side reading while watching for the visible symptom.
- Compare and interpret. Weigh the loaded device-side reading against the keyboard's documented operating range if you have one. Repeat the same test with a known-good cable and a direct host port before you conclude the cable is at fault. According to independent measurement guidance on measuring VBUS under load, the test should account for cable, connector, and fixture resistance in the measurement path, not just the port's rated output. Testing guidance also notes that test fixture resistance can inflate readings, so measure close to both cable ends rather than through long extra test leads that add unnecessary drop.
As an illustration only, a coiled cable with an estimated 0.065 ohm per foot of conductor resistance, a 12-foot round-trip path, and a 0.5 A load during bright lighting would show roughly 0.39 V of drop by V = I × R. That's a hypothetical scenario to show how the math works, not a measured spec for any specific cable or keyboard, so use your own measured or documented values instead.
Cable-Quality Checklist Before You Keep or Replace It
Before deciding, collect evidence on the whole path rather than judging the cable by appearance. None of these items alone proves compatibility, but together they tell you how much confidence you actually have.
- Conductor specification: Gauge or, better, a measured DC resistance for the deployed positive-and-return path.
- Deployed length: Total cable length plus the host-side lead, measured as actually routed on your desk, not the coil's resting size.
- Connector assembly: Aviator connector pinout, coupling condition, and visible solder or crimp quality.
- Shielding description: Documented separately from resistance and power performance, not treated as a voltage-drop verdict.
- Performance evidence: Any seller or manufacturer resistance measurement, load-test result, or support and return path if the cable underperforms.
Unknown gauge, shielding, or connector detail should lower your confidence in the cable, but it isn't proof of incompatibility on its own. A measured result or credible test always outweighs a marketing description.
Troubleshoot Dimming, Flicker, Disconnects, and Resets in Order
Start by keeping the lighting condition constant while you swap one variable at a time: cable, then host path, then connector seating. The symptom pattern is a clue that tells you what to test next, not a confirmed cause.
If the fault follows the cable
Repeat the loaded test on a direct host port using a known-good cable. If the symptom only shows up with your custom coiled cable, and disappears with the known-good one on the same port, prioritize the cable's resistance, internal wiring, or connector assembly as the likely cause.
If the fault follows the port or hub
Compare the same cable and lighting condition on a direct host port instead of through a hub or extension. If the fault disappears on the direct port, keep the cable out of the replacement decision, since the hub or that specific port is the more likely fault until you isolate it further.
If every cable and port shows the fault
Stop treating the cable as the only suspect once the fault persists across multiple cables and multiple ports under the same load. At that point, the more useful next step is checking the keyboard's firmware, its documented power behavior, or contacting the manufacturer's support, since repeated cable purchases won't resolve a fault that isn't cable-specific.
FAQs
Do I need an oscilloscope to check keyboard-cable voltage drop?
A standard DMM is enough to compare steady VBUS-to-ground readings at no load and under the load that triggers the fault. An oscilloscope becomes useful only if the reset or disconnect happens as a brief dip that a steady DMM reading doesn't explain. Start with a DMM and escalate only if it doesn't account for the symptom.
What if my keyboard does not list its USB current requirement?
There's no safe way to invent a device-specific voltage or current threshold when the keyboard manufacturer hasn't published one. Instead, compare your setup against the original cable or a known-good cable on a direct host port, and reach out to the keyboard's manufacturer for the missing specification if the comparison doesn't resolve the issue.
Can a USB hub make a good coiled cable look faulty?
Yes. A hub adds its own voltage-drop behavior to the power path, so a cable that performs fine on a direct host port can appear to fail when routed through an underpowered or heavily loaded hub. Repeat the same cable and lighting test directly at the host before deciding the cable itself needs replacing.