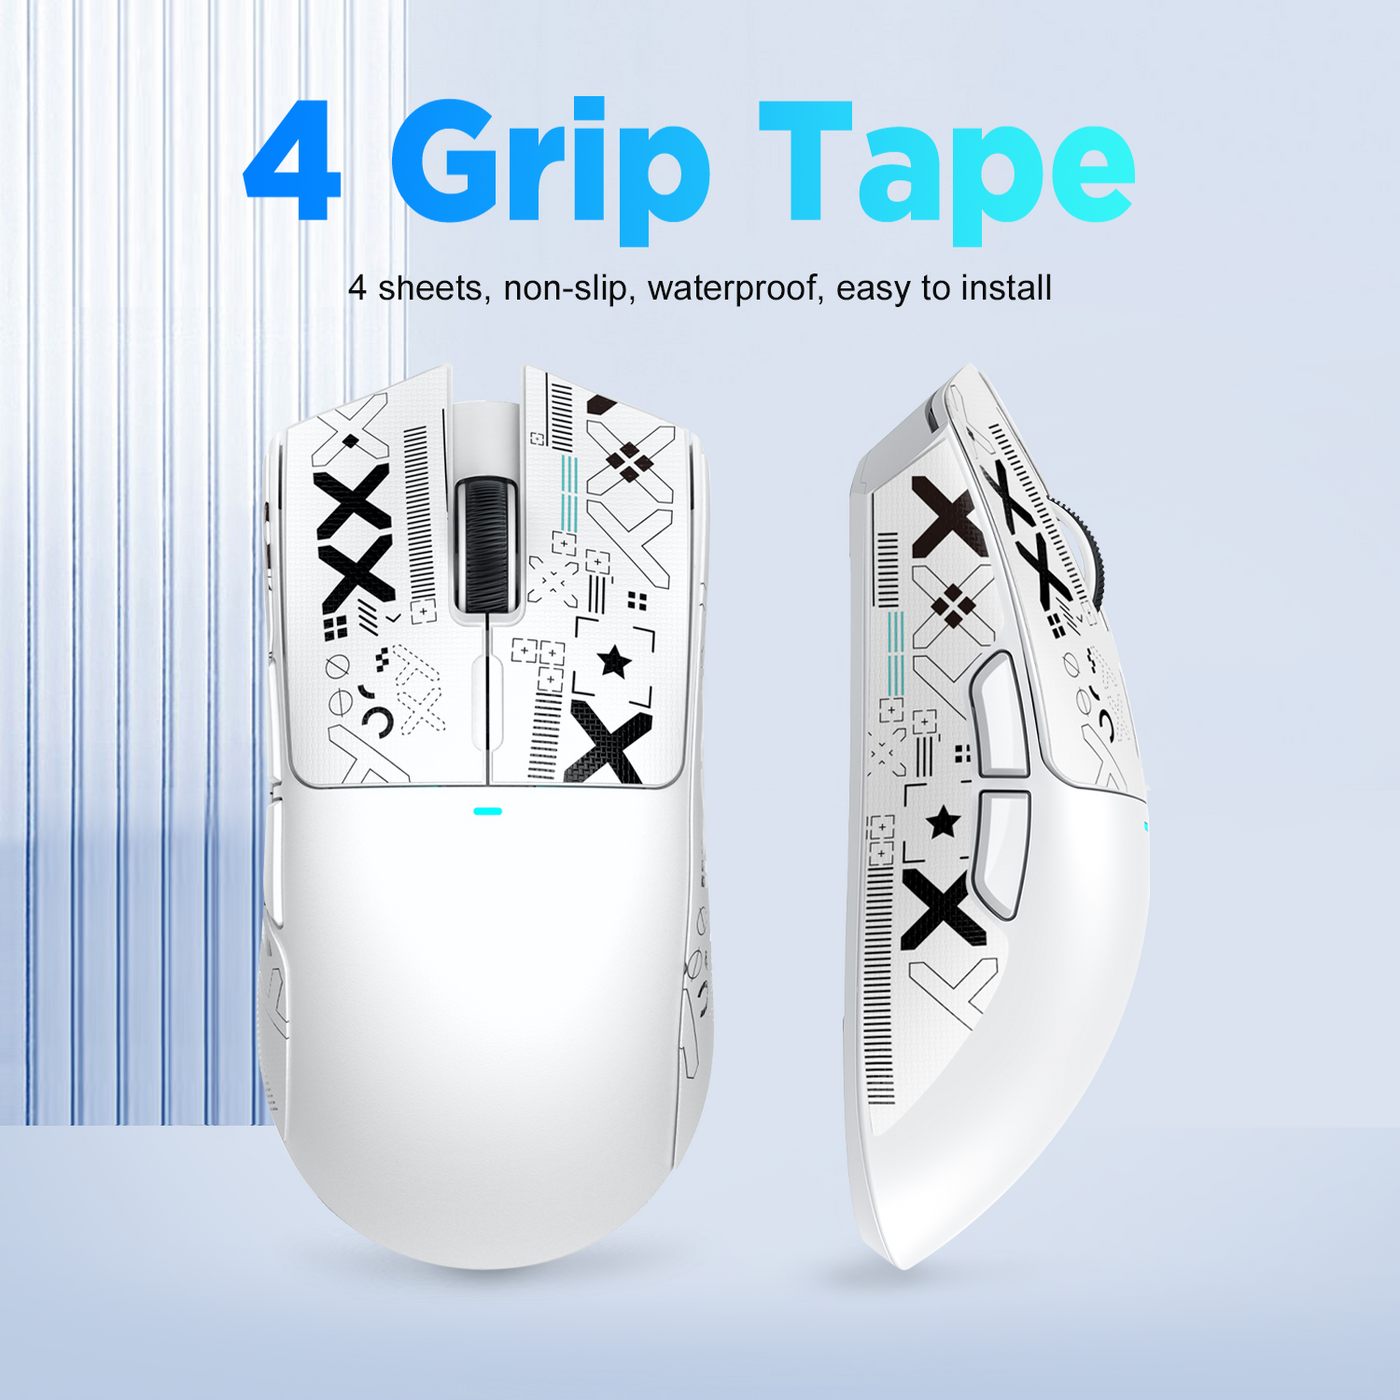
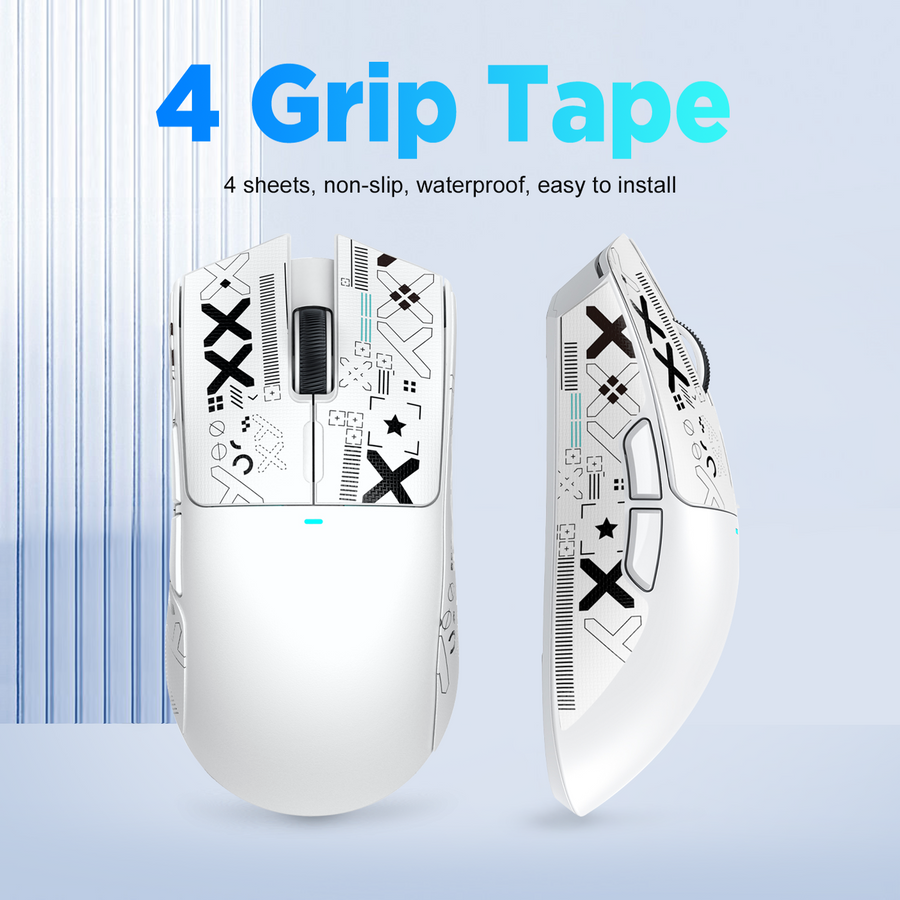
Grip tape makes sense when your mouse already fits your hand well, but sweat or a slick spot on the shell keeps breaking your contact. If the real problem is that the mouse feels too big, too small, or forces you to reposition your hand constantly, tape will not fix that. You need a grip or mouse change first. Once you know which problem you have, the rest of this guide walks through where to place tape, how thick to go, how to apply it cleanly, and how to remove it without marking up the shell.

Choose Grip Tape, Change Your Grip, or Change Your Mouse
Grip tape is the right call when your mouse shape is comfortable but one contact area slides, usually from sweat or a smooth patch on the shell. It is the wrong call when the mouse itself is the problem.
Watch for these fit signals before you reach for tape: if you find yourself reaching awkwardly for buttons, cramping your fingers, squeezing the shell harder than feels natural, or repositioning your hand every few minutes, that is a shape or size mismatch. No amount of texture fixes that. Swap your grip style or try a different mouse instead.
If your mouse passes that test and the problem is purely slip, start small. Cover only the zone that actually loses contact rather than wrapping the whole shell. Our own grip tape control test looks at this exact tradeoff: tape can restore lost traction, but it cannot change a mouse that never fit your hand.
| Situation | What it tells you | Best first move |
|---|---|---|
| Mouse fits, but hand slides during sweaty sessions | Localized slip on an otherwise good shape | Apply tape to the sliding zone only |
| Shell feels smooth or inconsistent in one spot | Texture mismatch, not a sizing problem | Small textured patch over that zone |
| You reach, cramp, or overgrip constantly | Shape or size does not match your hand | Change grip style or mouse model first |
| Tape already applied everywhere and problem persists | Coverage was not the actual issue | Reassess fit before adding more tape |
Map Placement to Your Grip Style and Slipping Zone
Grip style tells you where to look first, but the actual slipping zone decides how much tape you need. Treat the following as a starting map, not a fixed rule, and adjust based on where your hand actually loses contact.
Fingertip Grip
Fingertip grip users mostly need coverage at the fingertip pads and the side panels where fingers wrap the shell. If that area feels secure and dry, a narrow strip along the sides and front is usually enough. There is rarely a reason to cover the full palm rest for a fingertip-only complaint, since that area barely touches the shell in this grip style.
Claw Grip
Claw grip puts weight on the fingertips and a rear contact point where the palm rests lightly against the back of the shell. Check both zones separately, since they can slip independently. If only the rear pad loses grip during long sessions, a small dedicated piece there solves it without touching the front, where contact already feels stable.
Palm Grip
Palm grip relies on a broader contact area: the palm heel, side panels, and sometimes the thumb rest. Map whichever of those loses stability first, and only expand to the full palm zone if more than one area shares the same problem. Keep tape edges clear of seams, buttons, and scroll wheel openings unless a model-specific guide tells you otherwise, since covering a seam can interfere with button feel or trap moisture underneath.
Choose Texture and Thickness by the Feel You Want
Texture and thickness are feel decisions, not performance guarantees. There is no category-wide thickness standard, so check the exact product listing rather than assuming one kit matches another.
Start with limited or thinner-feeling coverage if you want to keep the mouse's original feel as close to stock as possible. Choose broader or more textured coverage only if inconsistent contact across multiple zones is the actual complaint, not a one-off slip.
| Direction | Choose it when | Tradeoff |
|---|---|---|
| Smoother, thinner-feeling texture | You want minimal change to the stock shell feel | Less aggressive traction on very sweaty hands |
| Matte or textured surface | Sweat or smooth spots cause repeated slipping | More noticeable tactile change under your fingers |
| Softer-touch surface | You want a gentler contact feel over hard plastic | May feel less precise to users used to a firm shell |
| Limited, zone-only coverage | Preserving original mouse feel matters most | May need a second small piece later if another zone slips |
| Broader coverage | Multiple contact zones share the same texture problem | Bigger change to overall hand feel and grip habit |
Apply Grip Tape Without Bubbles
The fastest way to avoid bubbles is to prepare the surface fully before any adhesive touches the shell, then press gradually instead of pushing one edge down all at once. Follow this order for a clean first application:
- Power down the mouse and disconnect any cable so you are not working around a live connection.
- Clean the target area and let it dry completely, following the wireless gaming mouse cleaning steps so no oil or moisture sits under the new tape.
- Hold each pre-cut piece against the shell to check alignment before peeling any adhesive backing.
- Peel one piece at a time and set the leading edge down first, keeping the rest of the backing in place until you are sure of the position.
- Smooth the piece outward toward one edge in steady passes rather than pressing the center down first. This helps push air out instead of trapping it.
- Check every edge and button cutout once finished. Press down any lifted corner and confirm no piece blocks a scroll wheel, side button, or sensor.
Remove Tape and Clean Residue Cautiously
Remove worn or unwanted tape slowly, working from one edge instead of pulling the whole piece at once. Lift a corner with a fingernail, then roll the adhesive back on itself as you go. 3M's adhesive-care guidance describes this rolling approach, which can help lower pulling force during removal.
Residue behavior depends on the adhesive and the mouse's finish, so there is no single cleaner that works on every shell. Start with the mouse maker's own care instructions. Use only a cleaner the maker approves, applied to a cloth rather than poured directly onto the mouse, and keep liquid away from seams and openings. Avoid acetone or nail-polish remover on plastic unless the maker explicitly approves it, since iFixit's cleaning guidance notes that acetone can damage ABS plastic and that caution is warranted around glued parts and coatings. If the finish changes, softens, lifts, or reacts at any point, stop and follow the mouse maker's care guidance instead of reaching for a stronger solvent. Our magnesium shell residue guide covers this finish-by-finish caution in more detail for metal shells.
Replace tape based on condition, not a calendar. Peeling edges, visible grime that will not clean off, a surface that feels different than when new, or a return of the original slipping problem are all signs it is time for a fresh piece.
Choose Model-Specific Tape After You Identify the Need
Once you know your exact mouse model and the problem you are solving, a model-specific tape is worth choosing over a generic sheet. Matching compatibility first avoids wasted cuts and mismatched adhesive.
If you own an ATTACK SHARK X3 or X3pro and sweat or shell slickness is the issue, our X3/X3pro grip tape is built for that mouse with a non-slip, sweat-resistant, matte textured surface that is washable and cut to fit. For the ATTACK SHARK X6, our X6 grip tape offers the same non-slip, sweat-absorbent, cut-to-fit approach sized for that shell. If you carry an ATTACK SHARK X11 and want a softer touch alongside traction, our X11 grip tape uses a soft-touch, washable, 3M-material surface designed for that model.
If your mouse is a different model, use that maker's own placement and care guidance rather than forcing a near-match kit onto a shell it was not cut for. Confirm your exact model and diagnosed need, then choose the matching option above.
FAQ
Does Grip Tape Affect Mouse Weight?
Any added mass depends on the specific tape kit and how much of the shell you cover, so there is no universal weight change to expect. If keeping the mouse feeling as light and stock as possible matters to you, start with the smallest coverage that solves your slipping problem and check the product listing for any weight detail before you buy.
How Often Should I Replace Grip Tape?
There is no fixed schedule. Replace it when you see peeling edges, buildup that will not clean off, a surface that feels noticeably different than when it was new, or a return of the original slipping problem you installed it to fix.
Will It Leave Residue on My Mouse?
It can, depending on the adhesive and your mouse's finish, though it will not happen in every case. Follow the mouse maker's care instructions first, and if cleanup is needed, use a maker-approved method on a cloth rather than assuming any solvent is safe for your specific shell.
Does Gaming Mouse Grip Tape Improve Aim?
The evidence does not support a universal aim improvement. What tape can do is fix a specific slipping-contact problem, which may help you keep a more consistent hold during long sessions. If your real issue is that the mouse does not fit your hand, a grip or mouse change addresses that better than any amount of tape.