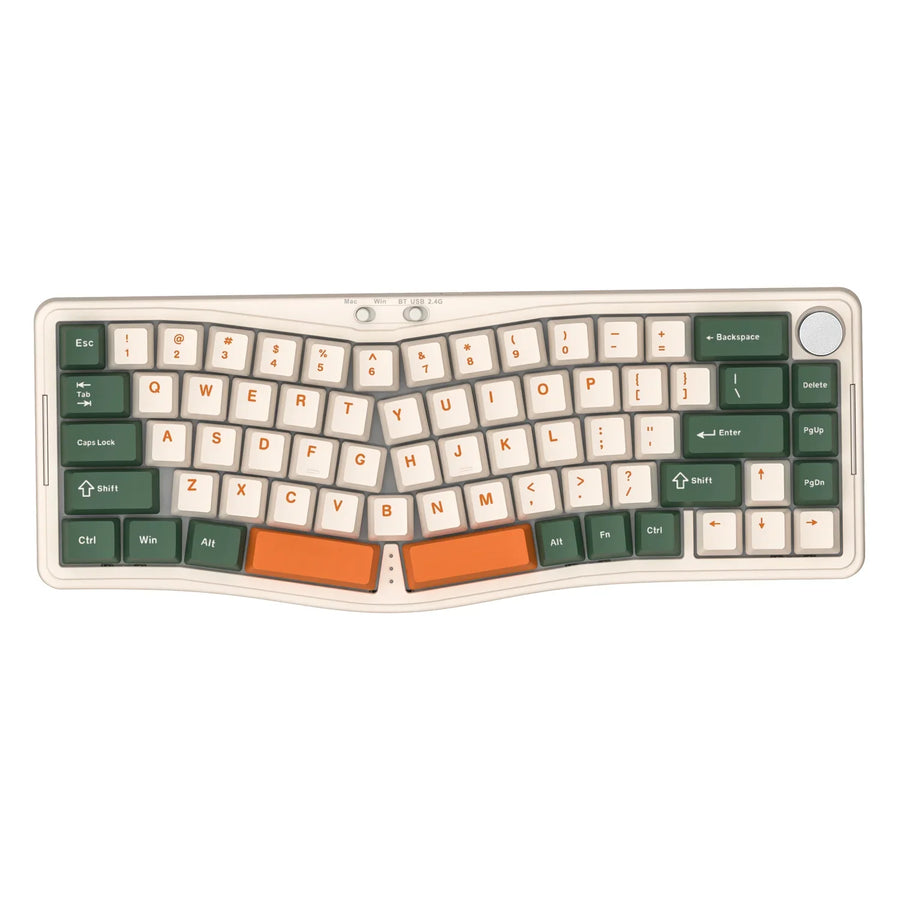
VIA lets you remap keys, build function layers, and save the result straight to a mechanical keyboard's onboard memory, but only on models with a matching VIA definition. If your keyboard is on VIA's supported list, the path is straightforward: connect it, confirm the layout, remap a key, test it, build a layer if you want one, then save and verify the change survives a reconnect.
Wireless gaming keyboards add one variable worth checking first. VIA's documented setup runs over USB, so confirm your exact model's connection instructions before assuming Bluetooth or 2.4G wireless mode will expose VIA the same way.
Key Takeaways
- VIA only works on keyboards with a matching supported definition; a "mechanical" or "wireless" label alone does not confirm compatibility.
- USB is VIA's documented connection baseline, so check wireless-specific instructions separately before relying on Bluetooth or 2.4G.
- Remap one key at a time and test it physically before touching more assignments.
- A layer needs its own access key and at least one tested alternate assignment; VIA defaults to four dynamic layers, but firmware can differ.
- A change that looks applied in VIA is not confirmed until it survives a disconnect and reconnect.
What via Does and the Remapping Path
VIA is a web-based configuration interface built for QMK-powered mechanical keyboards, letting you customize keymaps, macros, and supported RGB settings without recompiling firmware. It is not a universal keyboard tool: it only works on models that ship a matching keyboard definition.
The practical path looks like this: connect the keyboard through its documented method, let VIA identify it, confirm the on-screen layout matches your physical board, remap and test one key, build a layer if you want alternate shortcuts, then save and reconnect to confirm the change stuck in hardware memory. Each stage below covers one part of that sequence.
Prerequisites and Keyboard Connection
Before opening VIA, confirm three things: your exact model or revision is supported, the displayed layout matches your keyboard, and you have a record of the current key assignments. Getting this right first avoids remapping the wrong physical key or misreading a compatibility problem as a software bug.
Check the Exact Model and Layout
- Look up your keyboard's exact model and revision in VIA's supported-keyboards directory rather than assuming a "programmable" or "mechanical" label is enough.
- Compare the layout VIA displays, including any rotary encoders or lighting controls, against the physical keyboard in front of you.
- Write down or screenshot your current key assignments before changing anything, so you can restore them if needed.
VIA needs a keyboard definition and USB identifiers to display the correct physical layout and configurable controls for your model, which is why an exact match matters more than a general product category.

Connect by the Documented Method
Plug the keyboard in over USB first; that is VIA's documented baseline connection method. If your keyboard also offers 2.4G wireless or Bluetooth, treat those modes as model-specific rather than assuming they will expose VIA the same way USB does, and check your exact model's own setup instructions before relying on them.
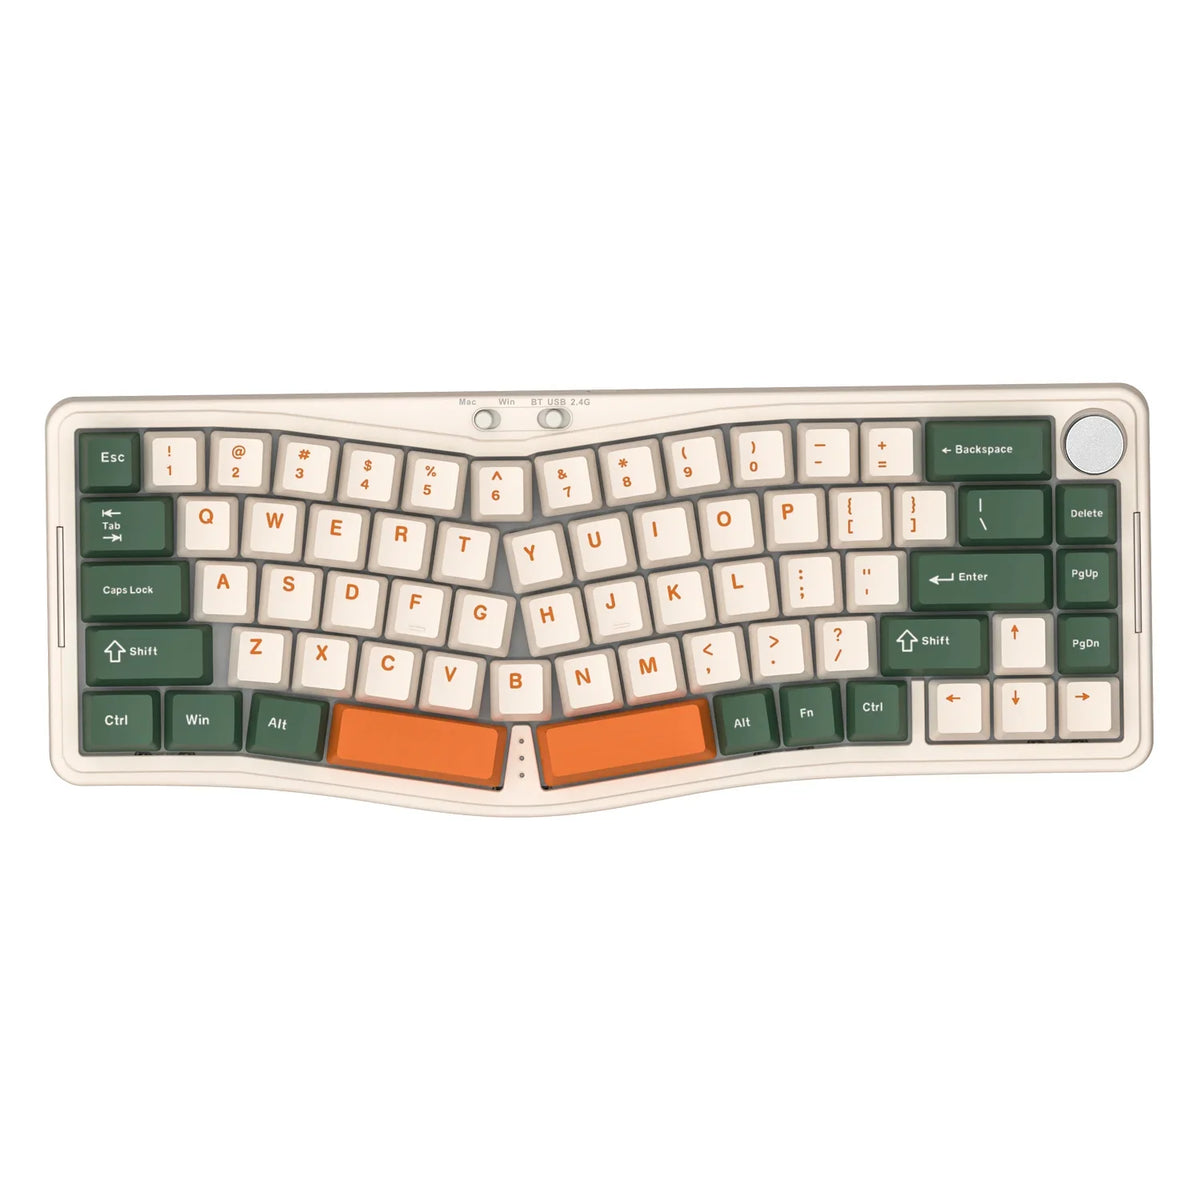
Our AKS068 PRO VIA keyboard supports USB-C wired, 2.4G, and Bluetooth connections along with VIA programmability, but that listing covers wired and wireless connectivity generally; it does not by itself confirm which mode VIA uses for remapping on that model. Start with the wired connection unless your model's documentation states otherwise.
Step-by-Step: Remap and Test One Key
Work through one key at a time so you can confirm each change before moving on.
- Open the keymap or configuration view in VIA once your keyboard is detected and identified.
- Select the layer you want to edit; most setups start on the base layer.
- Click the physical key on the displayed layout that you want to change.
- Choose the replacement keycode or function from VIA's keycode picker.
- Apply the change and immediately test the physical key in a text field or the app you plan to use it in.
- If the key still behaves the old way, check which layer is currently active on the keyboard before assuming the remap failed.
Keep your original assignment noted until you have confirmed the new one works as intended. That way a mistaken remap costs you a few seconds, not a lost shortcut.
Function Layers and Shortcuts
A layer is an alternate keymap you switch to while holding or toggling a designated key, and it is useful for productivity shortcuts or a temporary gaming keymap without permanently changing your base layout.
Choose a Practical Alternate Layer
Decide what the alternate layer is for before assigning any keys. A productivity layer might put media controls, navigation arrows, or function keys on keys you already touch often. A gaming layer might swap a handful of keys to alternate commands for one game session. Name the base layer and the alternate layer in your own head, then keep the first version small: one access key and a few alternate assignments you can test right away.
Assign and Test the Layer Access
- Place the layer-access keycode on a key that is easy to reach without looking, such as a spare function key or modifier.
- Assign only the alternate keys you can verify immediately, rather than filling the whole layer at once.
- Test the base layer first, activate the alternate layer and test again, then release or toggle back and confirm the base layer responds normally.
VIA ships firmware-dependent dynamic layers, with four layers available by default. Your keyboard's firmware can expose a different number, and each additional layer uses more of the keyboard's memory, so treat four as a starting point rather than a fixed limit.
Save and Verify the Keymap in Keyboard Memory
A change that looks correct inside VIA is not confirmed until it survives a full disconnect and reconnect. Verifying this separates a real hardware-stored keymap from a setting that only exists while the interface is open.
Apply and Test While Connected
- Apply the keymap change through VIA's interface.
- Test the changed key, and any layer you built, while the keyboard stays connected.
- Keep your original key map noted so you can restore it if the new version causes problems.
Reconnect and Confirm Persistence
- Disconnect the keyboard, then reconnect it using the same documented connection method you used for setup.
- Retest the changed key and layer directly from the physical keyboard, without opening VIA again.
- If the key or layer reverts to its old behavior, stop treating the VIA display as proof of a save and check your exact model's firmware documentation for its memory behavior.
Compatible firmware communicates with VIA over USB communication and keyboard memory, storing supported keymaps and settings in non-volatile memory so they remain after a disconnect. Not every model or setting persists identically, which is why the reconnect test matters more than the on-screen change.
Troubleshooting via Remapping
Match your symptom to one action instead of repeating the entire setup sequence.
- VIA does not detect the keyboard: Recheck exact model support, confirm you are on the documented USB connection, and confirm the correct keyboard definition loaded. Wireless mode is a common reason for a missing detection on models where VIA has not been confirmed to work wirelessly.
- The displayed layout does not match your keyboard: Stop editing. A layout mismatch usually means the wrong definition loaded, and remapping on top of it will assign the wrong physical key.
- A remap looks changed but the key still acts the same: Check which layer is currently active before assuming the assignment failed; an edit made on the wrong layer will not show up on the layer you are testing.
- A layer will not activate: Confirm the layer-access key was actually assigned and applied, then retest with that key held or toggled as your keyboard's behavior requires.
- Changes disappear after reconnecting: Repeat the disconnect-and-reconnect test once. If the result still resets, the issue is likely firmware-specific rather than a VIA setup mistake, and your model's driver and firmware downloads page is the next place to check for an updated file.
FAQs
Can I use via with a wireless mechanical keyboard?
A wireless connection option does not by itself confirm VIA support over that connection. VIA's documented setup path is USB, so start there and check your exact model's own instructions before expecting Bluetooth or 2.4G to expose VIA the same way.
Why does via show my new key but the keyboard still acts the same?
This usually means the edit landed on a different layer than the one you are testing, or the active layer on the keyboard is not the one you edited. Check the active layer, then retest the physical key before changing anything else.
Will my via keymap stay saved after I unplug the keyboard?
Compatible firmware stores supported keymaps in the keyboard's non-volatile memory, so most changes remain after a disconnect. If a mapping resets after reconnecting, treat that as a model-specific firmware issue and check your keyboard's own documentation rather than assuming VIA failed.
How many layers can I create in VIA?
VIA defaults to four dynamic layers, but that is not a universal limit. Your keyboard's firmware can be configured for a different count, and adding more layers uses additional memory on the keyboard itself.